Guide - Using Raylib
This guide will get you set up to use Raylib in your next Onyx project.
Setting up the Project
To get started, create a new directory for the project. In that directory, run the following commands.
$ onyx package init
Creating new project manifest in ./onyx-pkg.kdl.

Package name: raylib-example
Package description: An example project using the Raylib bindings
Package url:
Package author: Brendan Hansen
Package version (0.0.1):

$ onyx package add raylib
       Added  'raylib' version 0.0.3

$ onyx package sync
       Fetch  http://github.com/onyx-lang/pkg-raylib  0.0.3
     Install  Running installation of 'lib/github.com/onyx-lang/pkg-raylib'
This will initialize the prompt you for the project information, which you can leave blank because you probably won't be publishing this project as a package.
It will also add the raylib dependency and synchronize all packages to install it.
When it installs, it compiles a native binding library to be used by Onyx to interoperate with Raylib.
This process should on any MacOS or Linux system. If it does not, consider making an issue on the
raylib package repository.
Writing some code
Now that the project is set up and Raylib is installed, you can start writing some code.
Let's start by testing the environment by creating a simple window with a gray background.
Write the following code in a file called game.onyx.
#load "./lib/packages"

use core {*}
use raylib

main :: () {
    // Create a new window
    raylib.InitWindow(1200, 900, "Raylib Example");

    // Limit FPS to 60
    raylib.SetTargetFPS(60);

    while !raylib.WindowShouldClose() {
        // Start drawing
        raylib.BeginDrawing();

        // Clear the screen to a gray screen
        raylib.ClearBackground(.{20, 20, 20, 255});

        // Finish drawing
        raylib.EndDrawing();
    }

    // Close window when done
    raylib.CloseWindow();
}
To test your code, you can run it using onyx run.
$ onyx run game.onyxAssuming everything is working, you should see a window that looks like this.

Making a "Game"
Let's expand your simple window testing program by making a (very simple) game. In this game, you will control a character, and your job is to go to a checkpoint, but in your way will be random mines that you need to avoid.
It's a silly game idea, but it will demonstrate some Onyx and Raylib features.
To start making this game, let's define some structures and global variables to store the state of the game.
Player :: struct {
    x, y: f32;
    size: f32;
}

Checkpoint :: struct {
    x, y: f32;
    size: f32;
}

Mine :: struct {
    x, y: f32;
    size: f32;
}

//
// Game state
player: Player;
checkpoint: Checkpoint;
mines: [..] Mine;
score: i32;
Next, you can add some code to reset the game state in resetGame, and spawn new mines and move the checkpoint in moveCheckpointAndSpawnMines.
resetGame :: () {
    // Reset the score.
    score = 0;

    // Put the player in the middle of the screen.
    player = .{
        x = 600,
        y = 450,
        size = 20
    };

    // Remove all existing mines
    array.clear(&mines);

    moveCheckpointAndSpawnMines();
}

moveCheckpointAndSpawnMines :: () {
    checkpoint = .{
        x = random.float(0, 1180),
        y = random.float(0, 880),
        size = 20,
    };

    // Spawn 5 mines at a time.
    for 5 {
        mine := mineGenerator()
            |> iter.skip_while(m => collidesWithCheckpointOrPlayer(m))
            |> iter.next();

        array.push(&mines, mine);
    }
}
The above uses a couple of utility functions that you need to write. The first one checks if a mine that is going to be placed collides with the checkpoint or the player.
The other one is a little weirder.
It procudes an Iterator over random Mines.
This iterator never ends, and will infinitely produce random mines.
When combined with iter.skip_while, you can easily
find the first mine that meets a constraint.
In this case, the first mine that does not collide with the checkpoint
or the player.
#doc "Returns if a mine collides with the checkpoint or the player."
collidesWithCheckpointOrPlayer :: (m: Mine) -> bool {
    return
        raylib.CheckCollisionCircleRec(
            .{ m.x, m.y }, m.size,
            .{ checkpoint.x, checkpoint.y, checkpoint.size, checkpoint.size }
        )
        ||
        raylib.CheckCollisionCircleRec(
            .{ m.x, m.y }, m.size,
            .{ player.x, player.y, player.size, player.size }
        );
}

#doc "Produces an interator of random mines."
mineGenerator :: () -> Iterator(Mine) {
    return iter.generator(&.{}, _ => {
        return Mine.{
            x = random.float(0, 1180),
            y = random.float(0, 880),
            size = random.float(10, 30),
        }, true;
    });
}
Finally, you need to update your main procedure to use the new procedures
and make the game, well, a game.
main :: () {
    random.set_seed(os.time());

    resetGame();

    // Create a new window
    raylib.InitWindow(1200, 900, "Raylib Example");

    // Limit FPS to 60
    raylib.SetTargetFPS(60);

    while !raylib.WindowShouldClose() {
        // Update player based on keys pressed
        dt := raylib.GetFrameTime();

        player_speed :: 160.0f;
        if raylib.IsKeyDown(.UP)    do player.y -= player_speed * dt;
        if raylib.IsKeyDown(.DOWN)  do player.y += player_speed * dt;
        if raylib.IsKeyDown(.LEFT)  do player.x -= player_speed * dt;
        if raylib.IsKeyDown(.RIGHT) do player.x += player_speed * dt;

        // Check for collision with the checkpoint
        if raylib.CheckCollisionCircleRec(
            .{ player.x, player.y }, player.size,
            .{ checkpoint.x, checkpoint.y, checkpoint.size, checkpoint.size }
        ) {
            score += 10;
            moveCheckpointAndSpawnMines();
        }

        // Check collision with mines
        for mine in mines {
            if raylib.CheckCollisionCircles(
                .{ player.x, player.y }, player.size,
                .{ mine.x, mine.y }, mine.size,
            ) {
                resetGame();
            }
        }

        // Start drawing
        raylib.BeginDrawing();

        // Clear the screen to a gray screen
        raylib.ClearBackground(.{20, 20, 20, 255});

        // Draw mines
        for mine in mines {
            raylib.DrawCircle(~~mine.x, ~~mine.y, mine.size, .{100, 0, 0, 255});
        }

        // Draw the checkpoint
        raylib.DrawRectangle(~~checkpoint.x, ~~checkpoint.y, ~~checkpoint.size, ~~checkpoint.size, .{50, 200, 0, 255});

        // Draw the player
        raylib.DrawCircle(~~player.x, ~~player.y, player.size, .{0, 0, 200, 255});

        // Draw the score
        raylib.DrawText(tprintf("Score: {}\0", score).data, 0, 0, 24, .{255, 255, 255, 255});

        // Finish drawing
        raylib.EndDrawing();
    }

    // Close window when done
    raylib.CloseWindow();
}
With all of the above code in game.onyx, you can run your game in the same way
as before.
$ onyx run game.onyx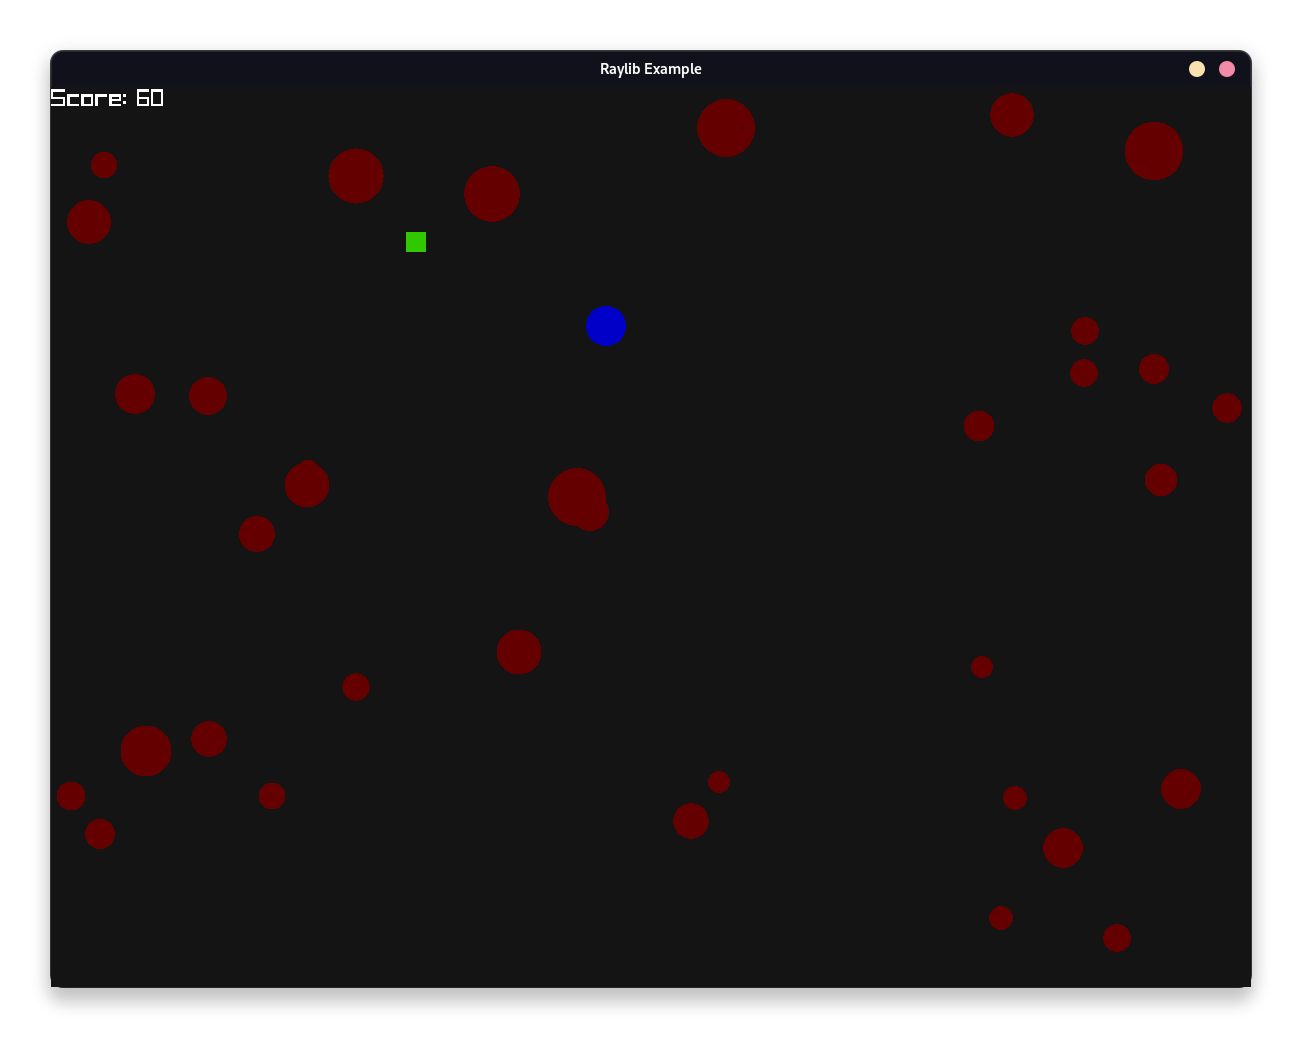
Now, you can take this simple game and make something even better! See the Raylib documentation for more details on how to use Raylib.